RV Dump Station Water Kit
|
Price: $1,790.00 |
The average camper uses 9 gallons of fresh water to flush their holding tank. Our RV dump station water hose kit can accomplish this with 2.5 gallons of water. This efficient use of water can lead to a 75% reduction in dump station water use and conserve one of our most precious natural resources. Overall waste water volume is dramatically reduced along with related sewage system demands and costs.
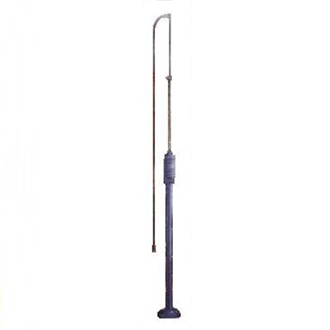
Our dump station water hose kit conveniently restores itself to the upright and retracted position when not in use. The nozzle is always held off the ground and will easily reach a 29 foot radius within use. (The hose is 8’ 10” long and the spring in the middle of the water hose kit can bend so the whole upper part can extend to reach the 29’ radius). No longer is there any need to recoil a garden hose. Our water hose kit provides a much more sanitary environment at your dump station that campers will appreciate. Our unique nozzle design keeps the camper's hands out of the discharge flow. It should not be used to supply drinking water for obvious hygienic reasons. However, a second water hose kit could be installed but should be separated from the first by a safe distance. These hose kits, properly signed, provide campers with a more hygienic flushing and fresh water system.
This RV dump station hose kit complies with the American's with Disabilities Act and meets or exceeds EPA, OSHA, ANSI and Department of Environmental Health Standards. Our RV dump station water hose kit is made of heavy gauge steel and cast iron and has been produced in the USA for over 35 years.
Color: Blue
Turns on and off via a ball valve.
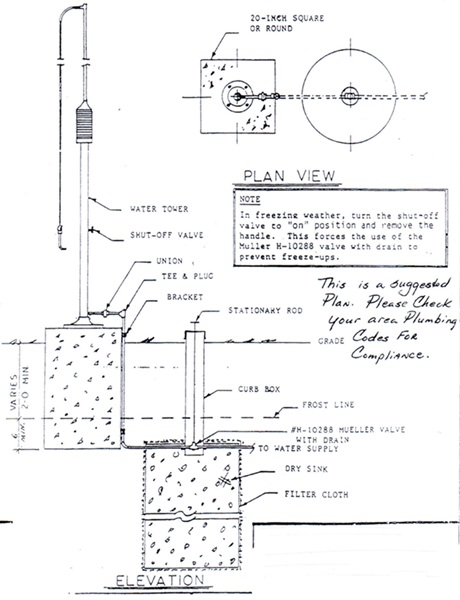
Complete installation instructions are included with unit (or see below).
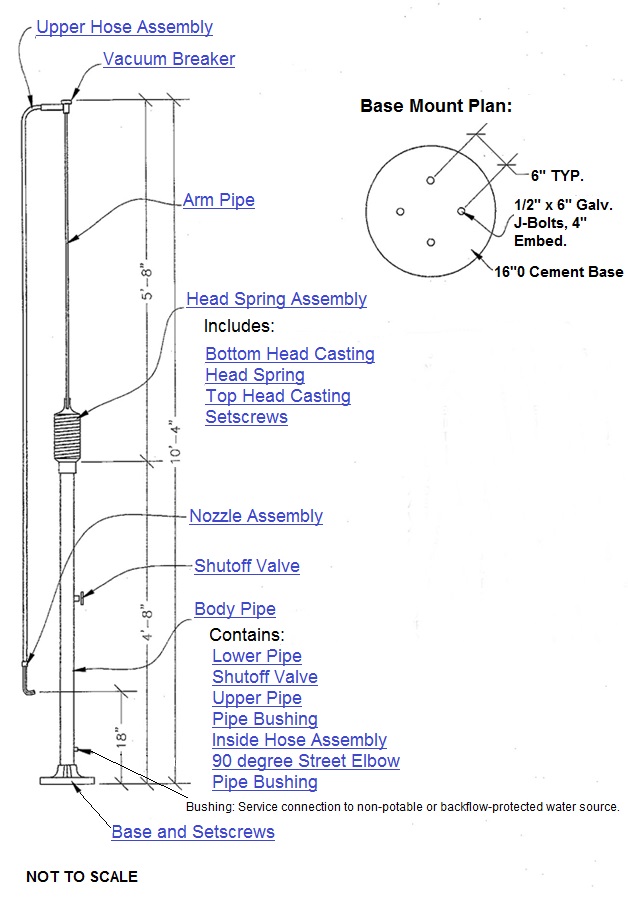
Order replacement parts below by clicking on the link to the part below on the spec sheet;

Dump Station Water Hose Kit Installation Instructions:
Assemble tower on the ground. When complete lift assembly into base.
1. Compare contents of shipping container with Parts List to determine if you have received the correct parts for assembly. If any discrepancies exist please notify us for replacement.
2. Assemble the lower pipe, the shut off valve and the upper pipe using thread sealant and pipe wrench. Note: Lower pipe is 24 inches long and Upper Pipe is 30.5 inches long.
3. Using thread sealant, assemble the street elbow to remaining threaded end on lower pipe of the above assembly. Note: Male threaded end on street elbow and valve stem MUST be timed (pointed) in the same direction in order to assemble this assembly in the body pipe.
4. Assemble one pipe bushing onto end of upper pipe using thread sealant on threads.
Note: All threaded connections must be wrench tight before proceeding with step 5.
5. Remove valve core from valve body and insert assembly into body pipe. The street elbow should be protruding through the lower hole in the body pipe and the threaded hole in the valve body should be in line with the upper hole in the body pipe. Assemble one pipe bushing on street elbow using pipe sealant and tighten with wrench. Reassemble valve core in valve body through upper hole in body pipe and tighten with wrench.
6. Assemble the base to lower end of body pipe (end with street elbow nearest to it) and tighten set screws. Set base assembly aside.
7. Assemble the vacuum breaker to one end of the arm pipe using pipe sealant and tighten with wrench.
8. Assemble the upper hose assembly to the vacuum breaker and tighten with wrench. (No sealant needed).
9. Slide the arm pipe through top hole in the pipe bushing to the end of the arm pipe protruding through bottom of head spring assembly using pipe sealant and tightening wrench tight and inside hose assembly to pipe bushing tightening wrench tight (no sealant needed). Inside hose should be coiled inside the head spring.
10. Pull the arm pipe out of the head spring assembly until it will no longer move, then tighten the set screws in top of head spring assembly. The arm pipe should not move in head spring assembly and the inside hose assembly should be partially inside the head assembly.
11. Assemble the nozzle assembly to the remaining end on the upper hose assembly.
Street elbow is 3/8 inch and bushing is 1/2 inch and is threaded. For a 1/2 inch connection line. For a different size connection line, the bushing can be replaced with a 3/8 inch for the street elbow and the size you need for your connection.


